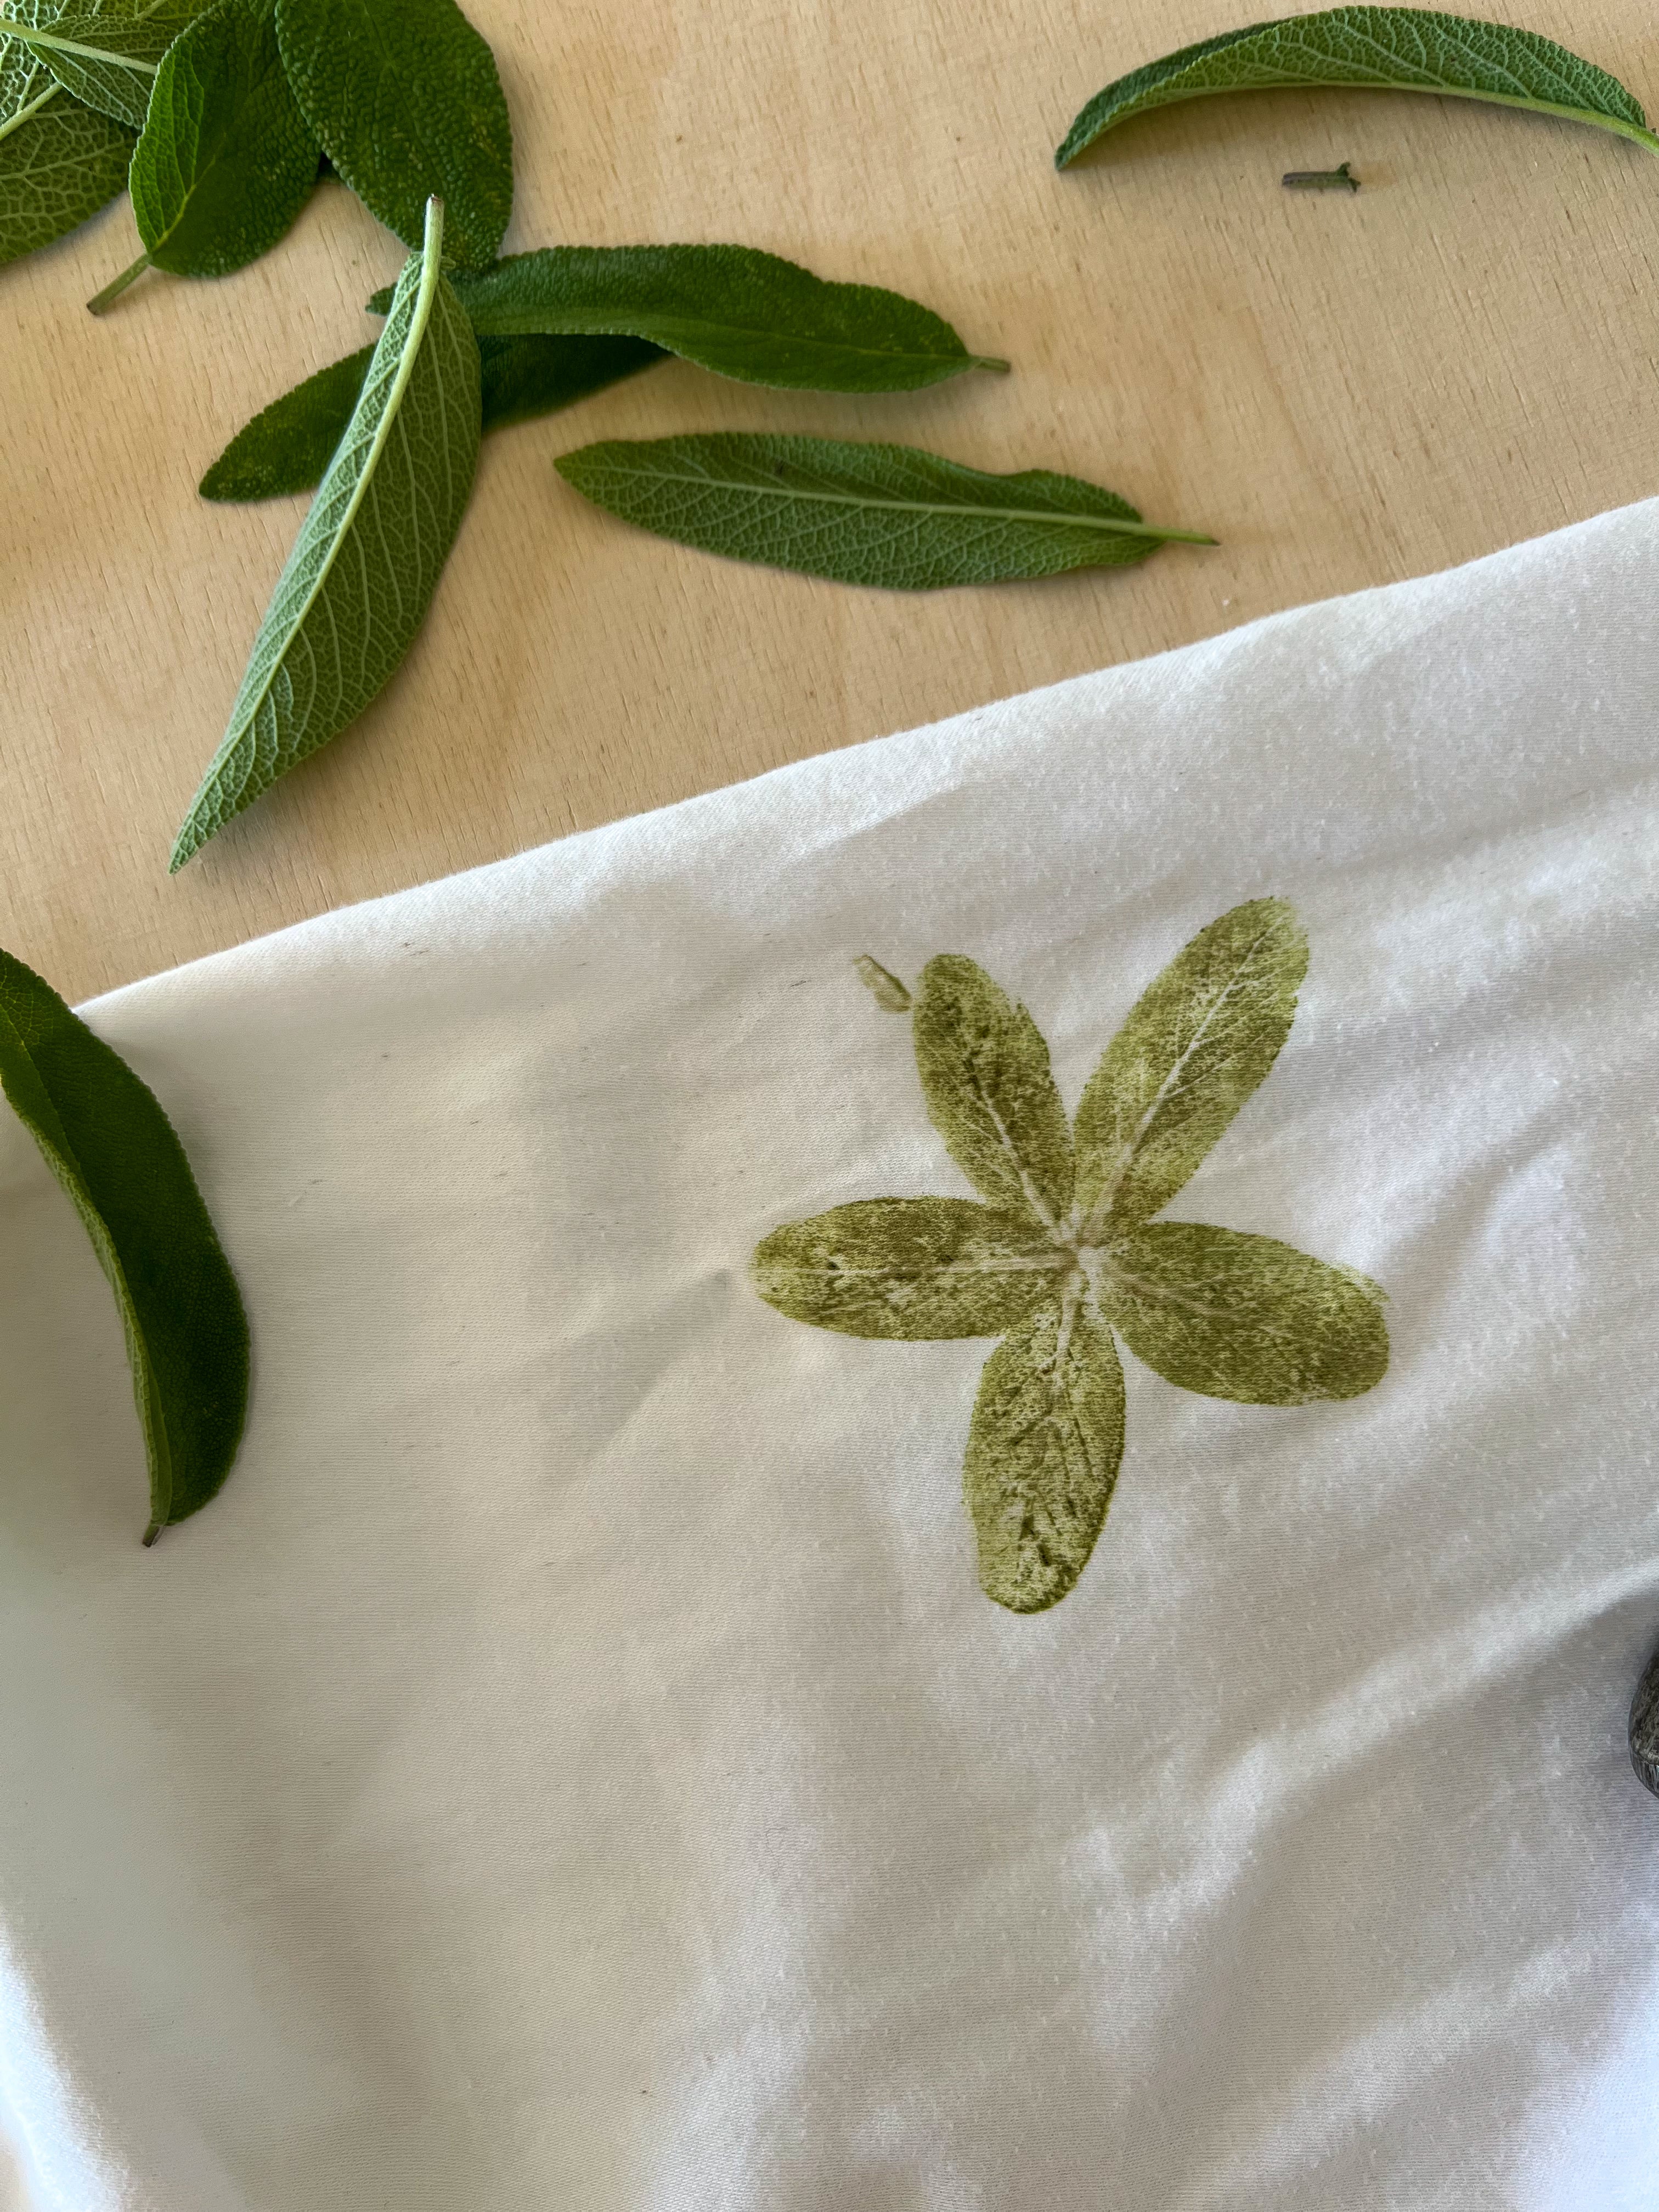
Sage flower pants
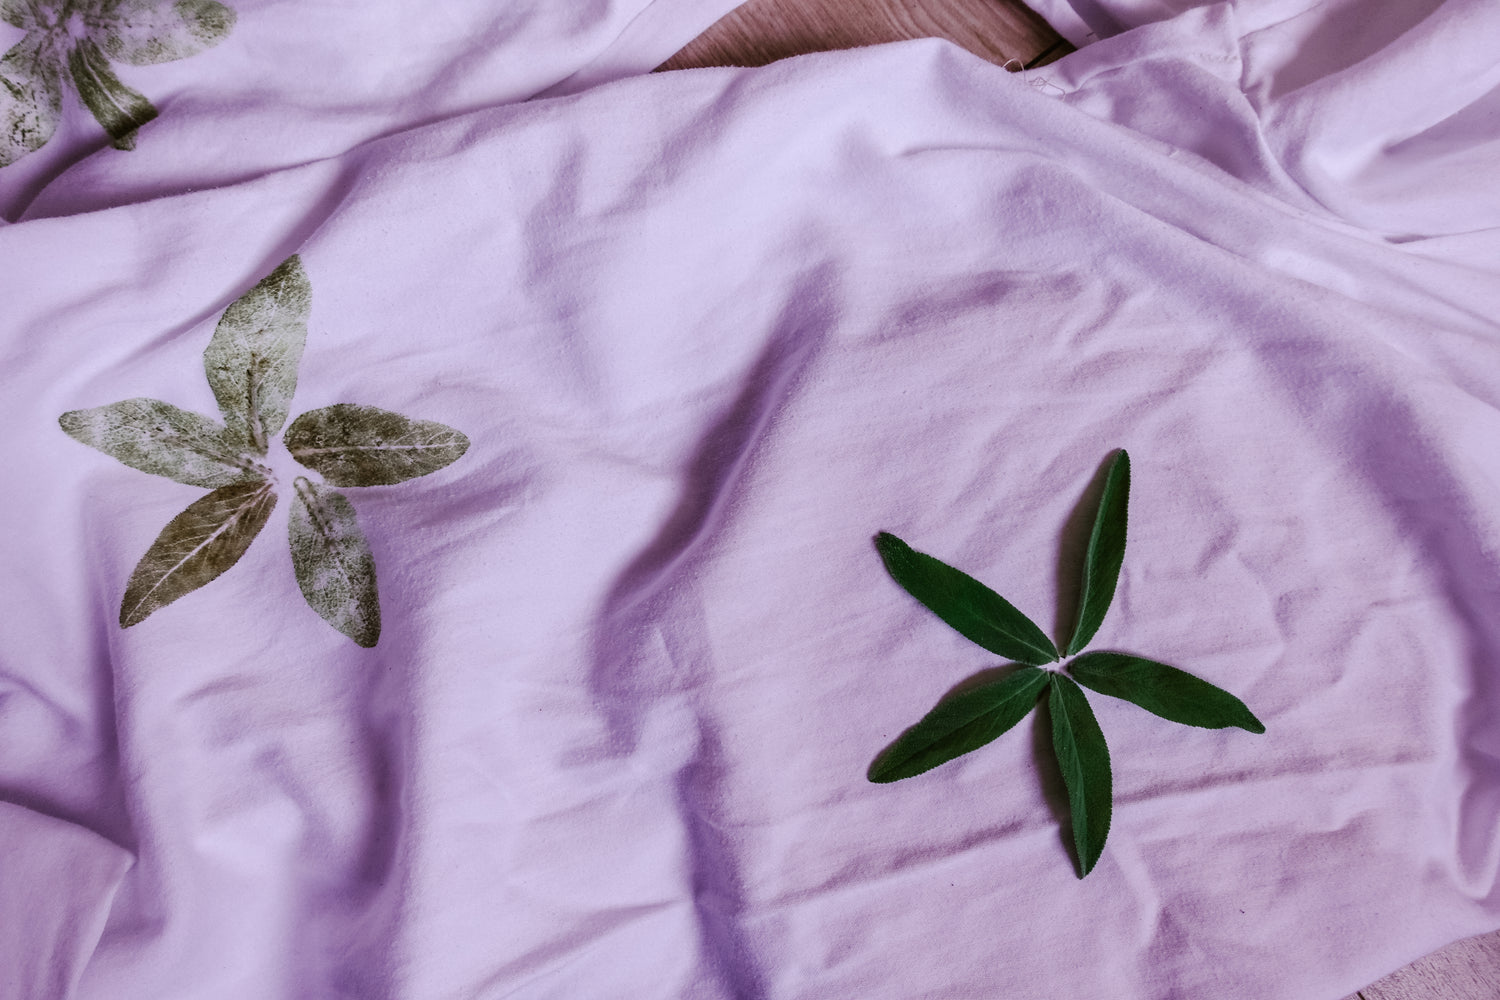
I love using sage for plant hammering (tataki zome) - its soft, rounded leaves are perfect for creating beautiful shapes and floral designs. For these pants, I arranged the leaves into flower-like patterns, but you can also use two leaves to form hearts or even spell out letters and names. The possibilities are endless!
What you'll need
Step 1 - Arrange the flowers
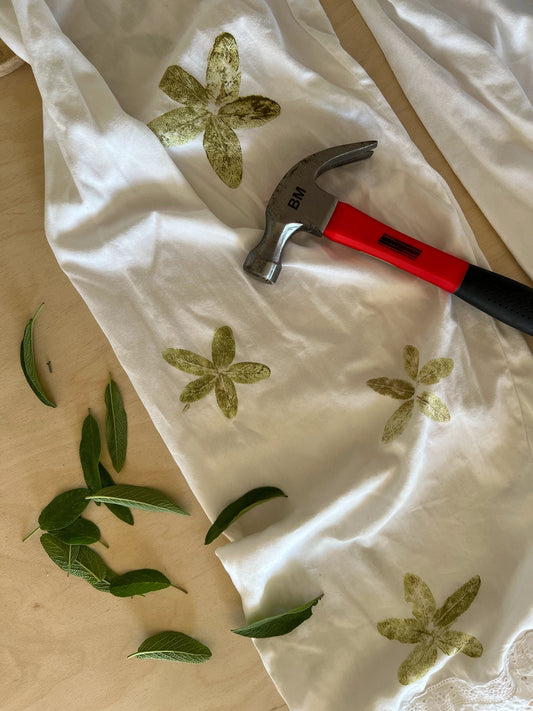
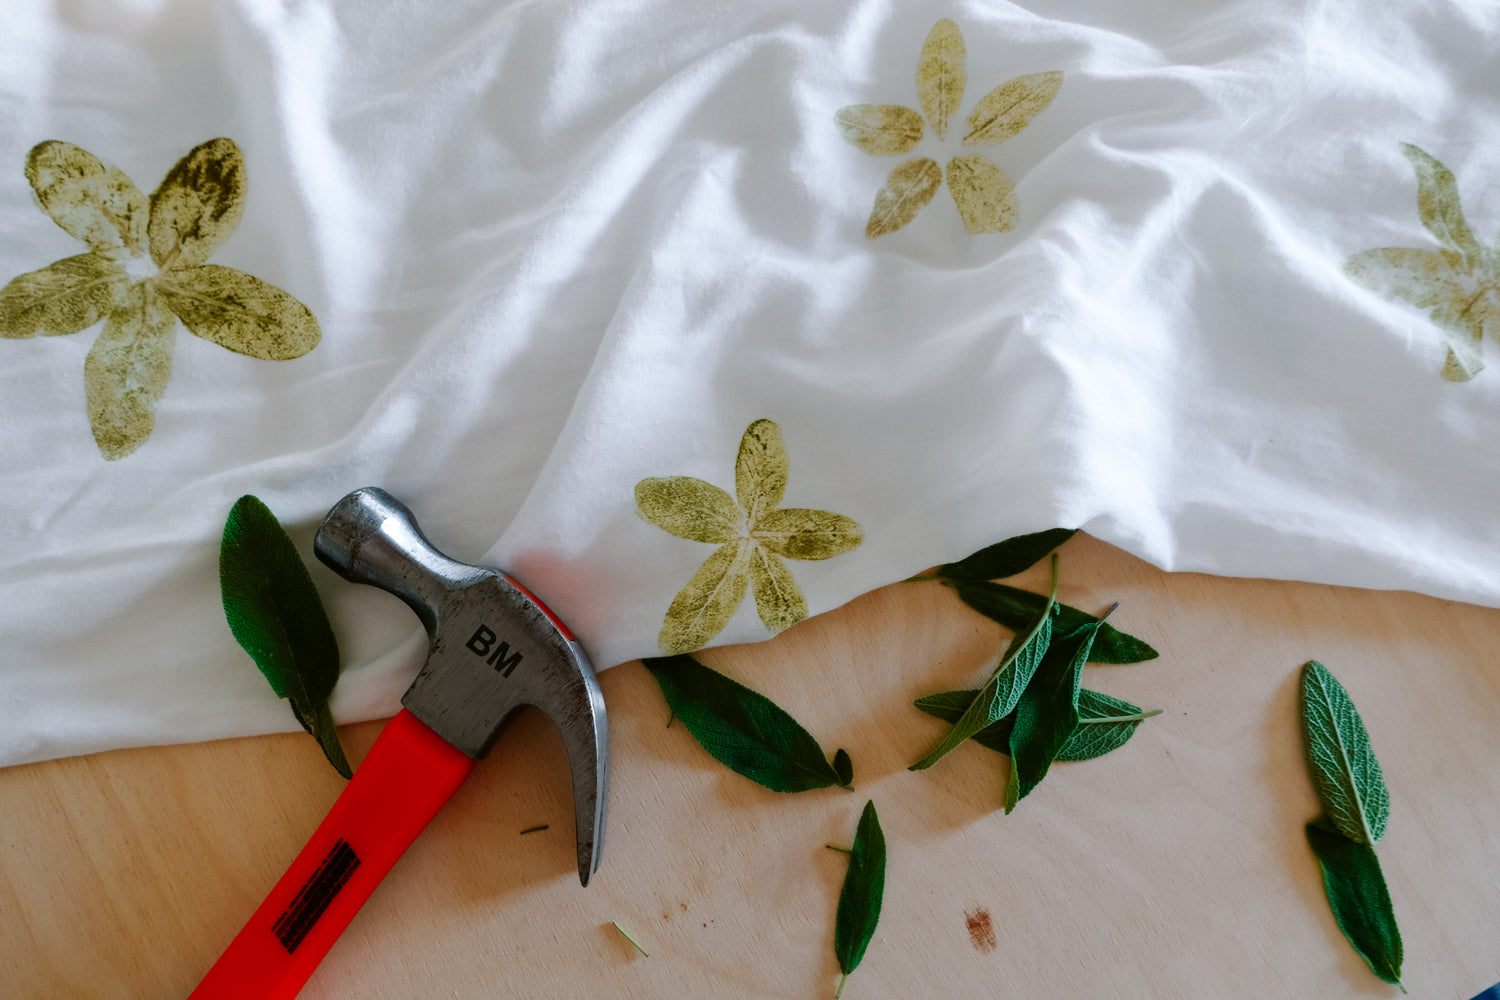
Place a cutting board under your fabric for support — if you're working on pants like I did, simply slide the board inside the pant leg. Arrange your leaf “flowers” on the right side of the fabric in any pattern you like. Be sure to place the leaves vein side down for the best imprint.
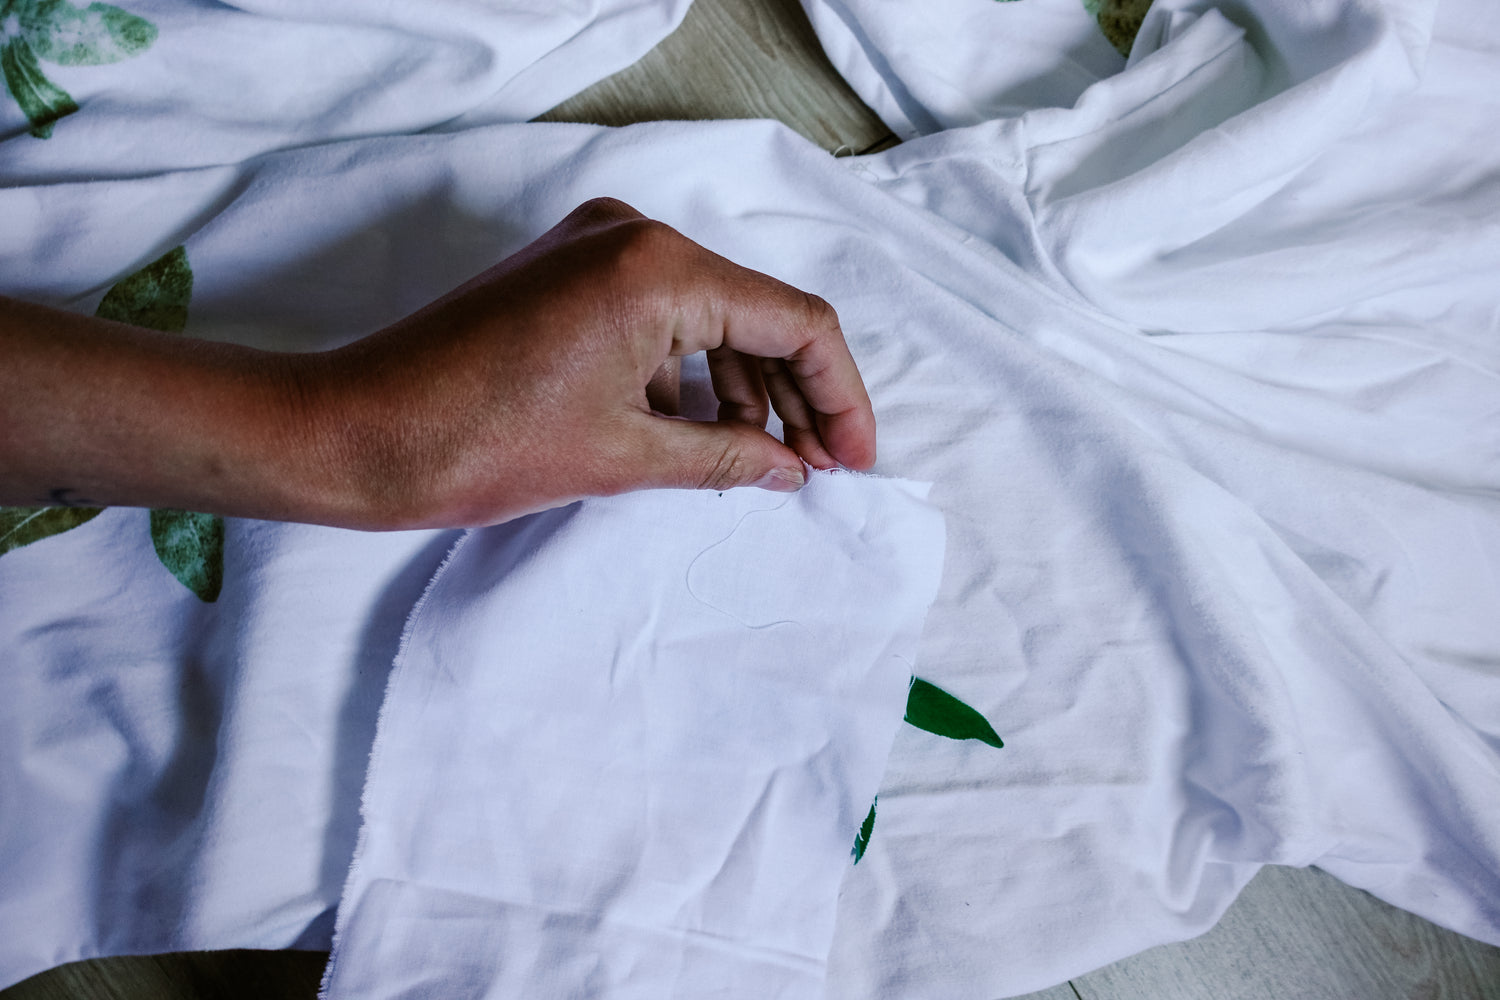
Step 2 - Cover with scrap fabric
Gently place a piece of scrap fabric - such as an old cotton cloth or muslin - over the arranged leaves. This top layer helps keep everything in place and prevents the leaves from shifting while you work. Make sure the scrap fabric lies flat and that your leaves stay exactly where you positioned them, as even small movements can blur the final imprint.

Step 3 - Hammer
Begin gently but firmly hammering directly over the leaves. Unlike delicate flowers, leaves often require a bit more pressure to fully release their color onto the fabric. Make sure to tap all parts of each leaf - especially around the edges - to ensure the entire shape is clearly transferred. Take your time to work evenly across the surface for the best imprint.
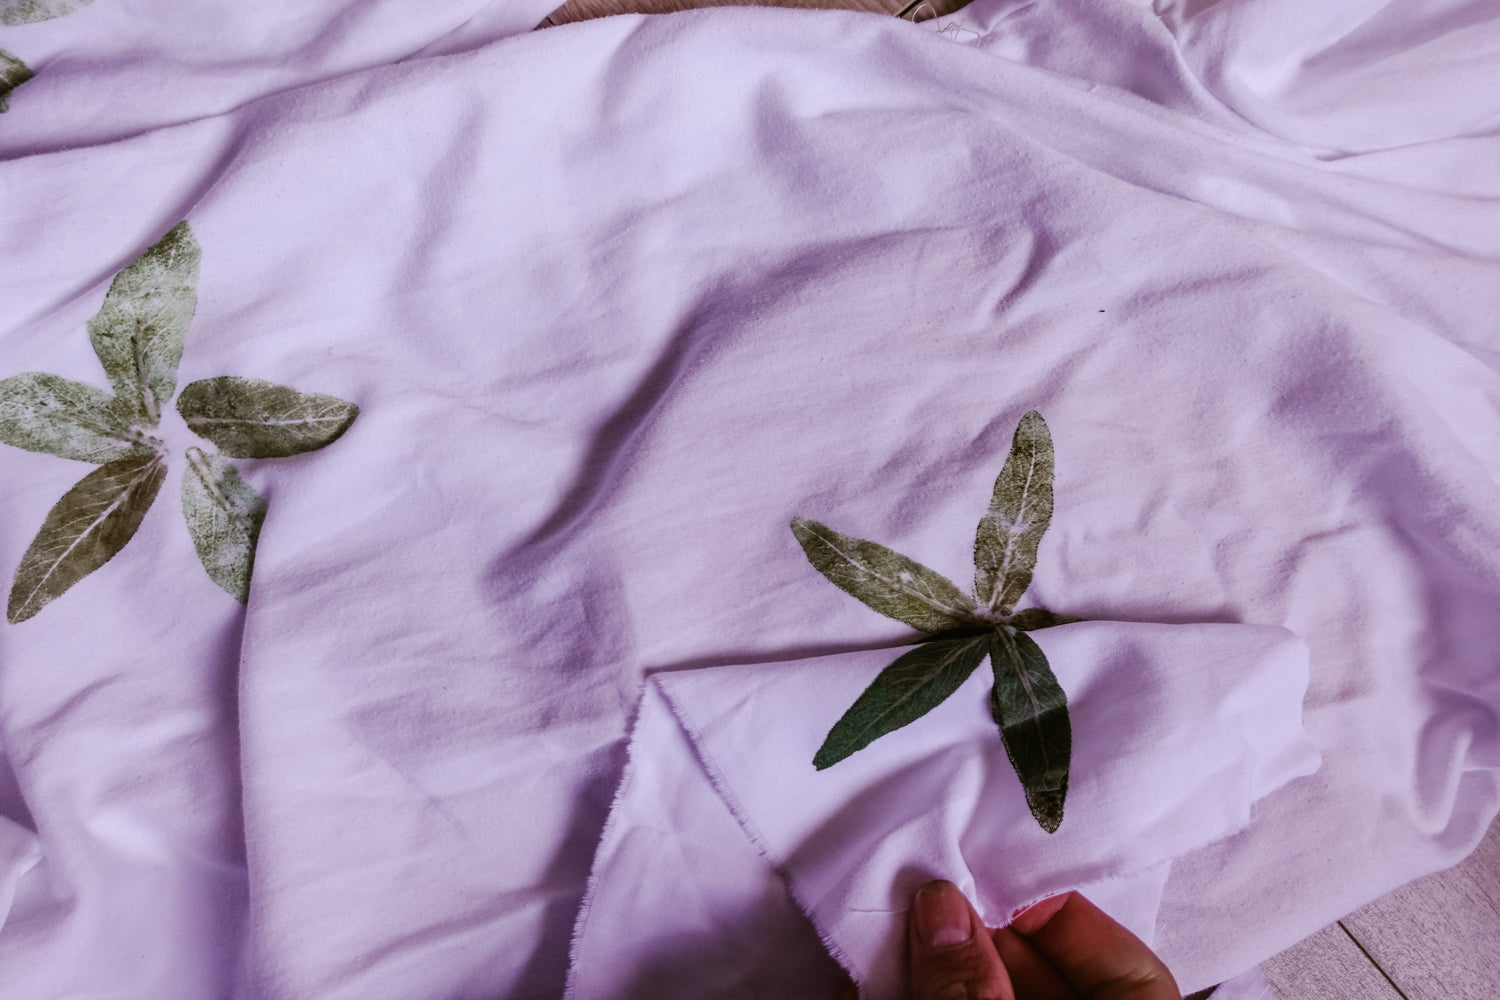
Step 2 - Remove scrap fabric
Carefully lift off the scrap fabric and peel away the used leaves to reveal your beautiful print underneath.
Repeat the process as many times as you'd like until you're happy with the number and placement of your leaf impressions.
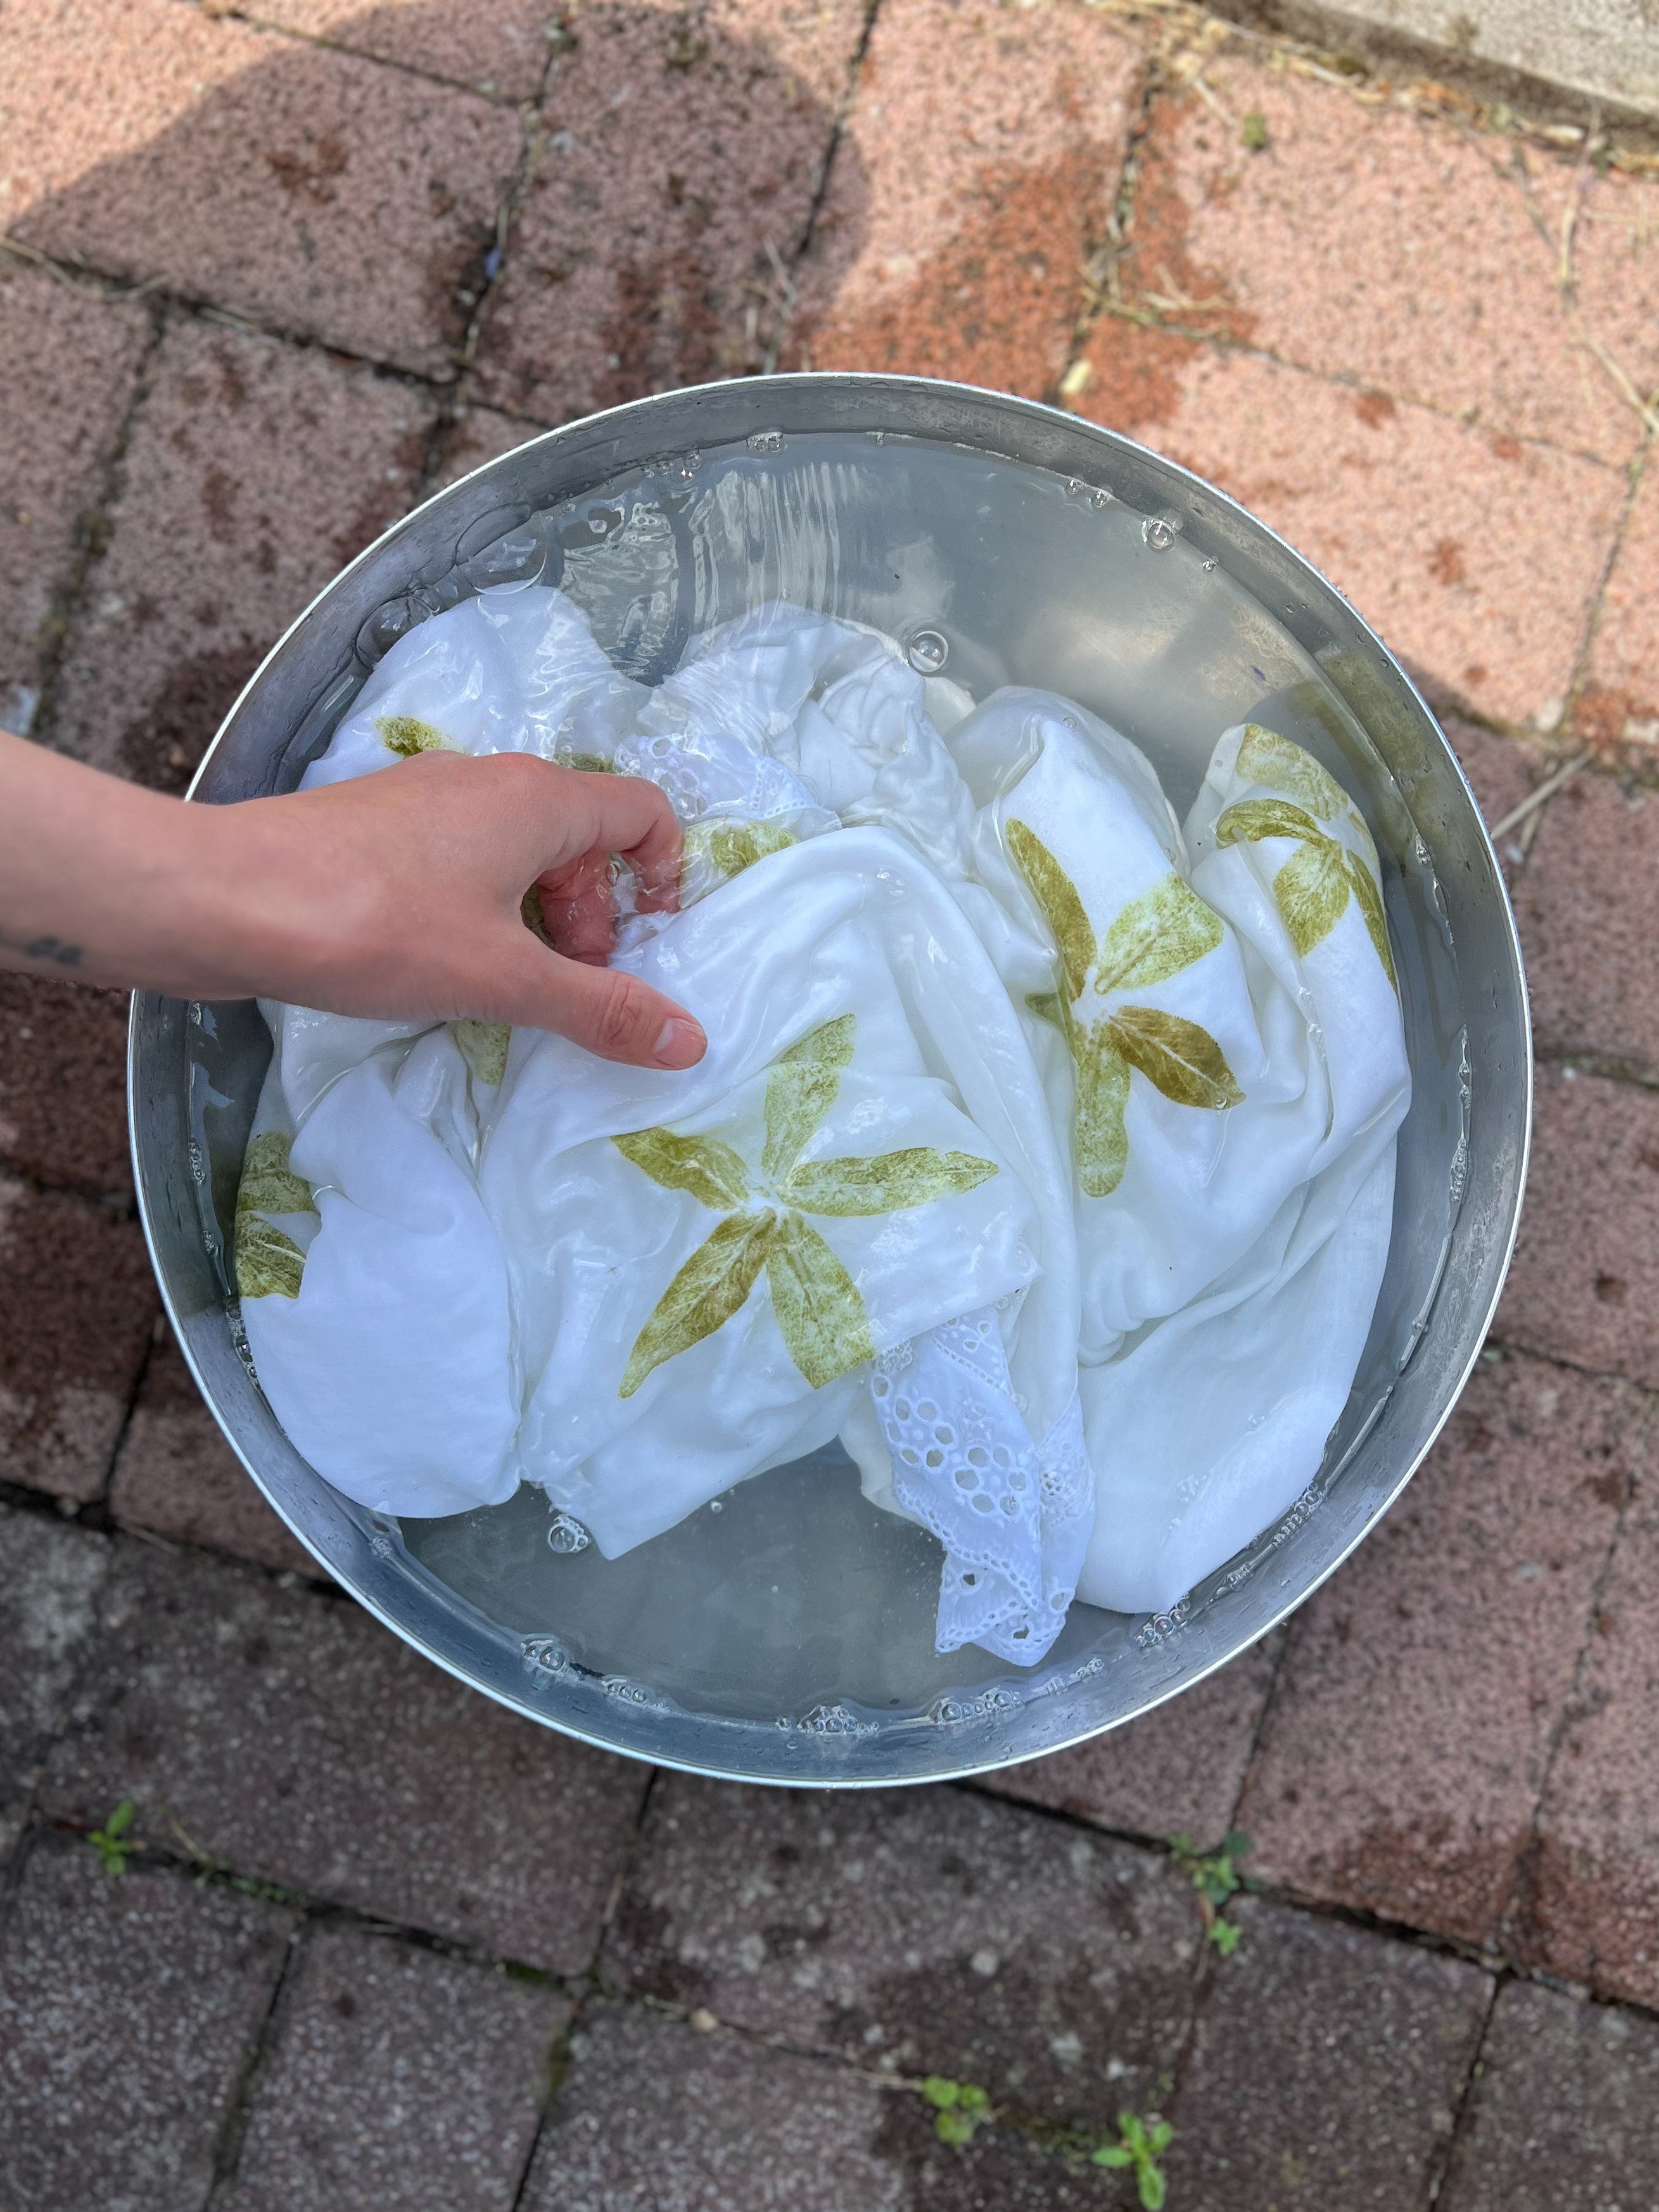
Step 3 - Rinse & wash
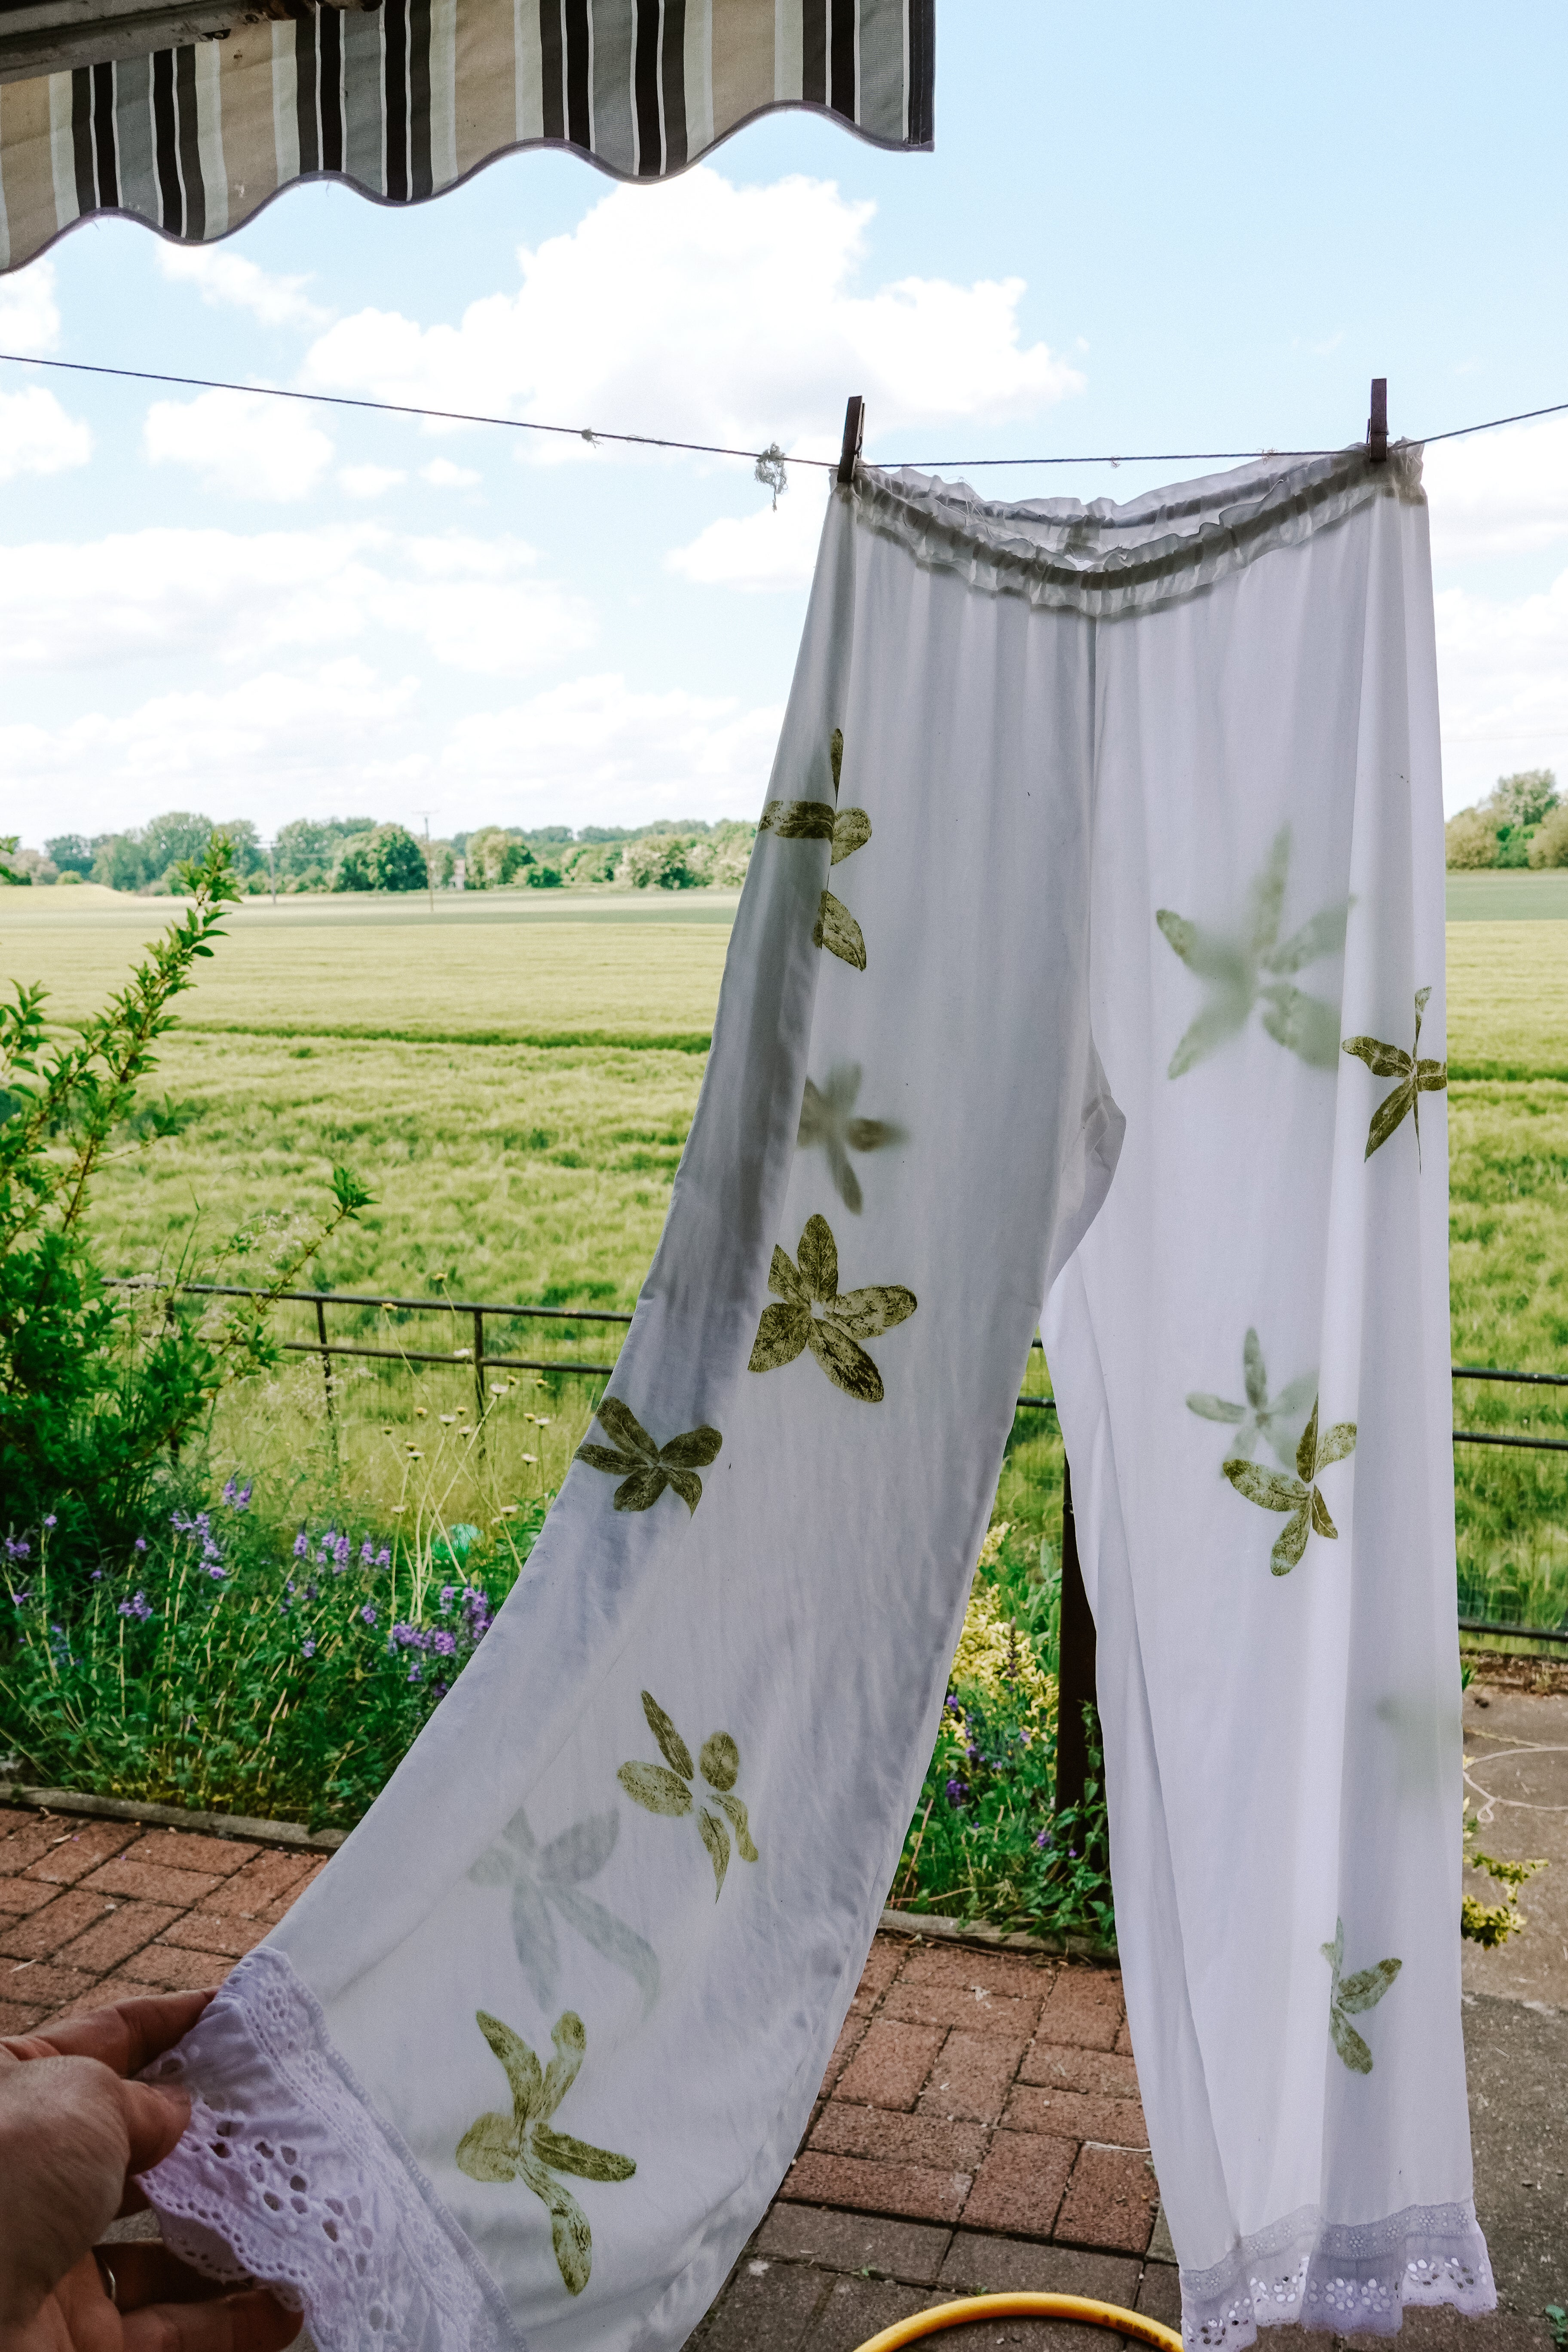
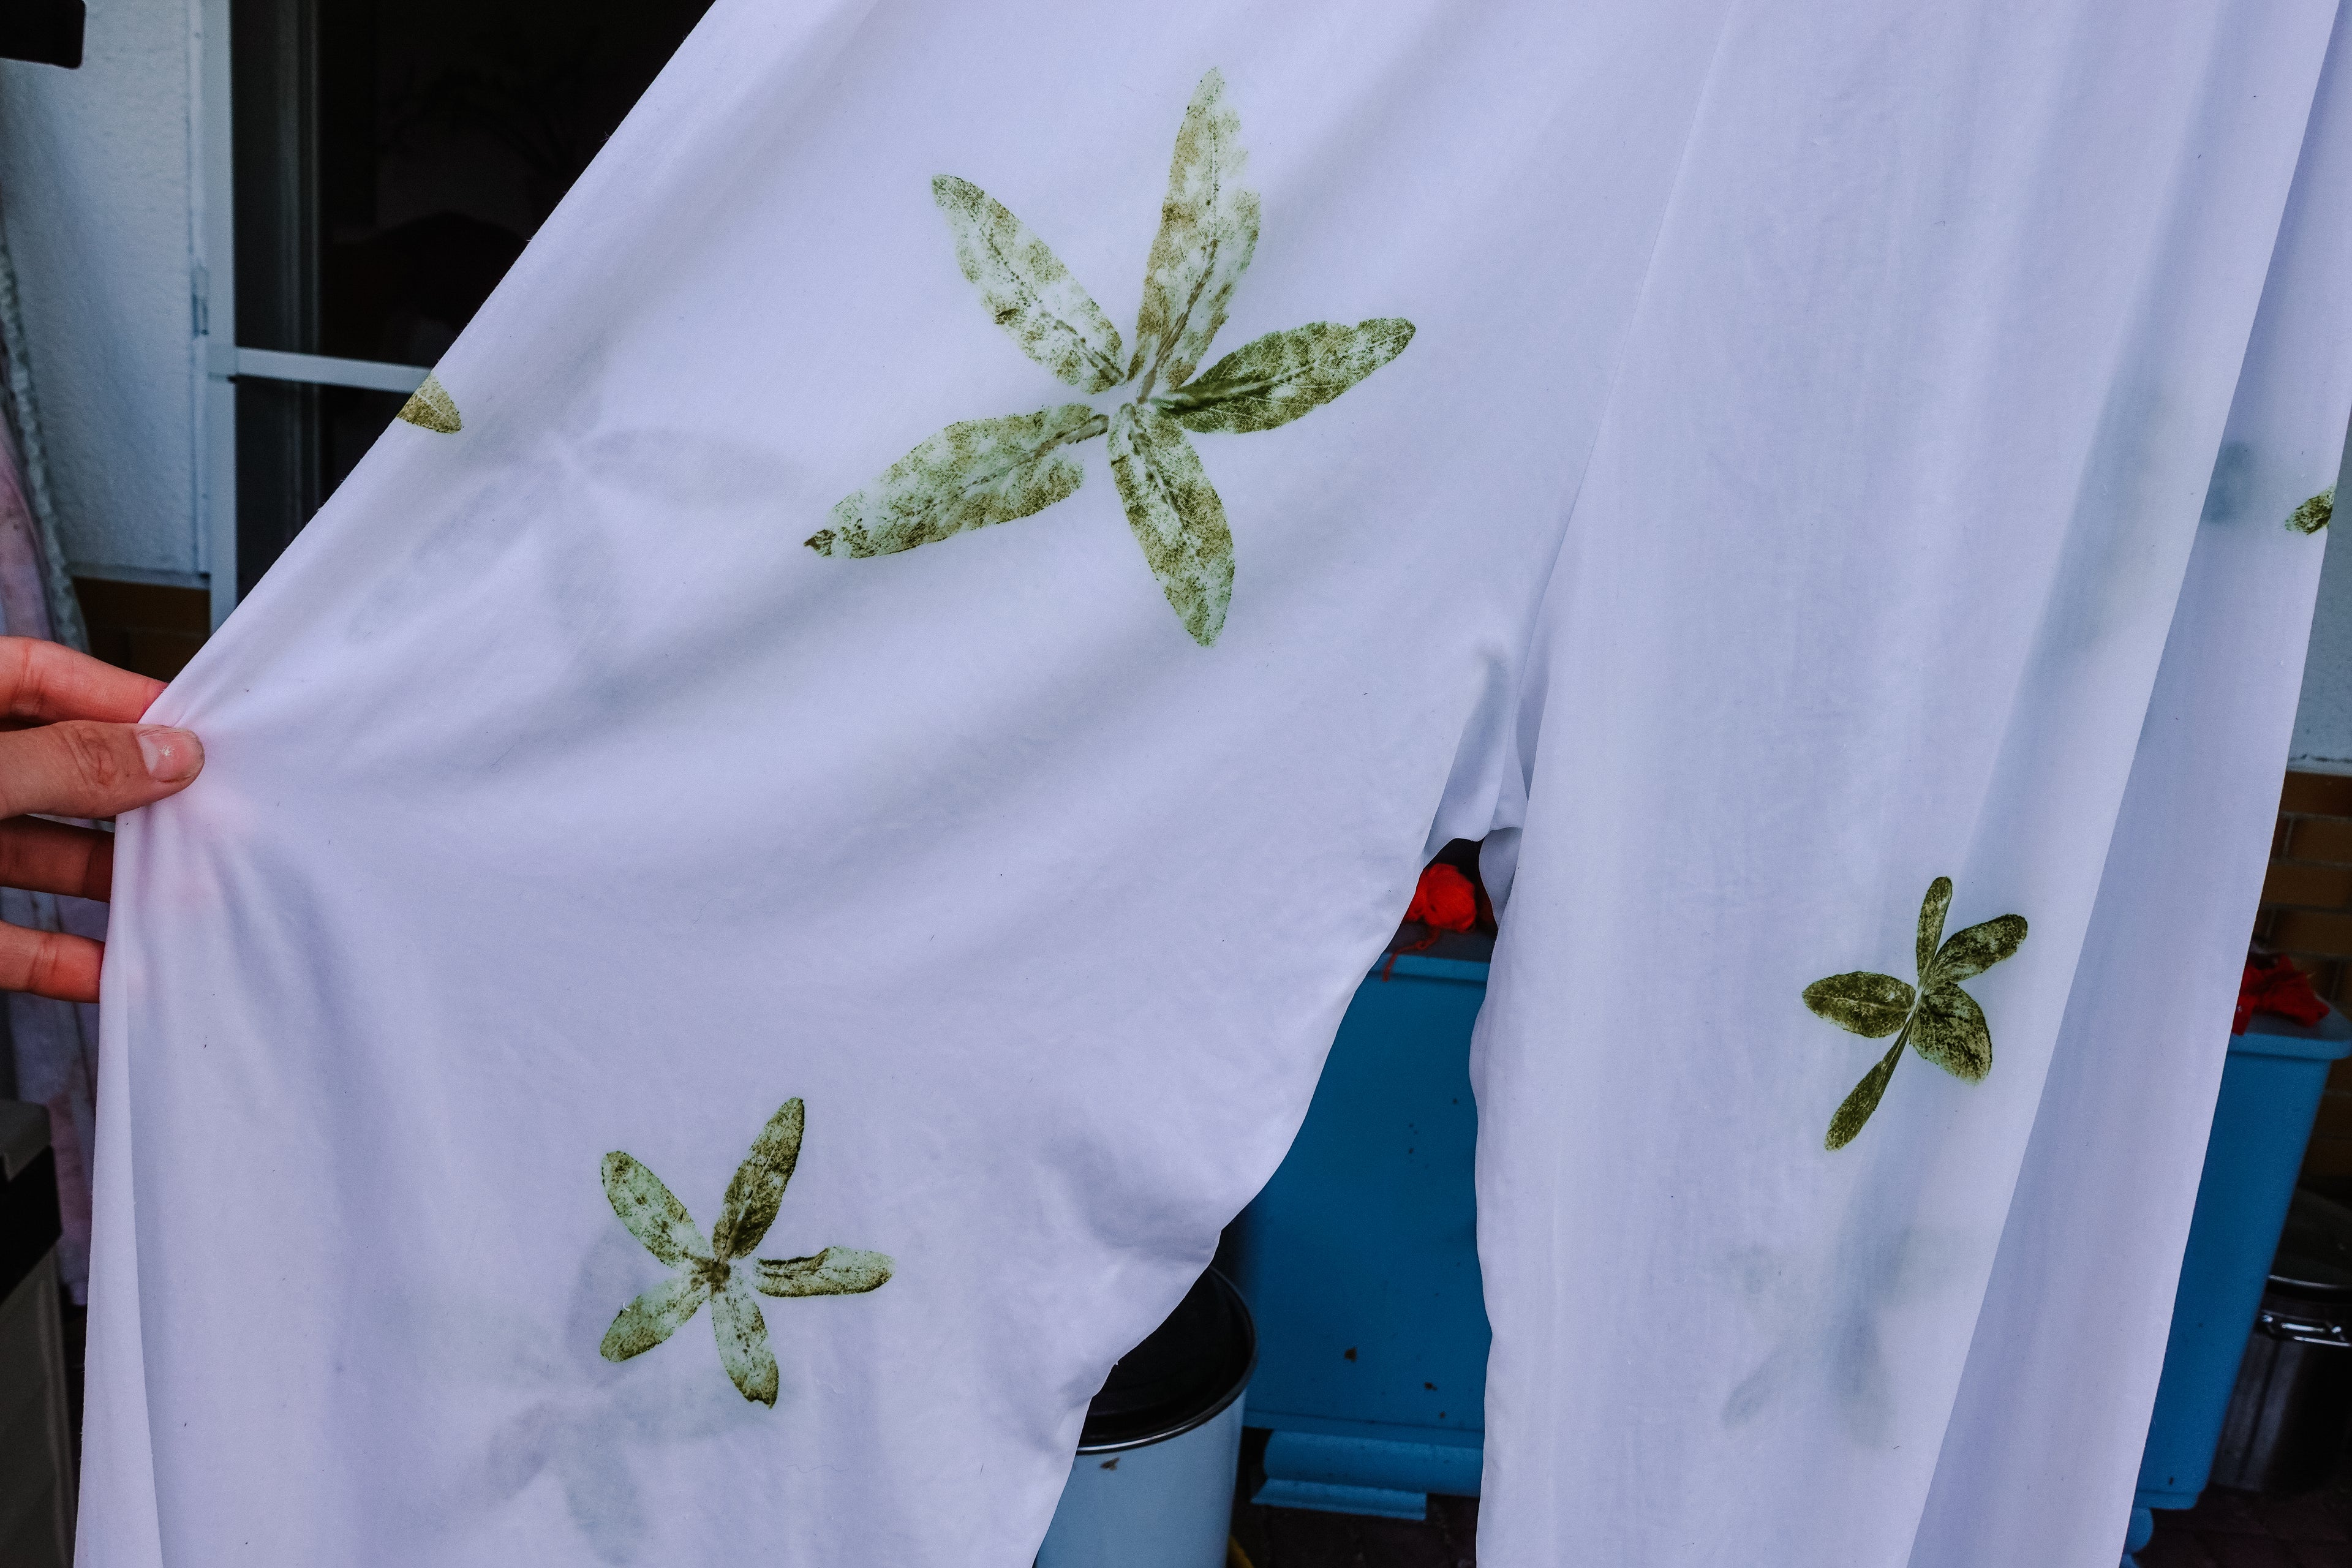
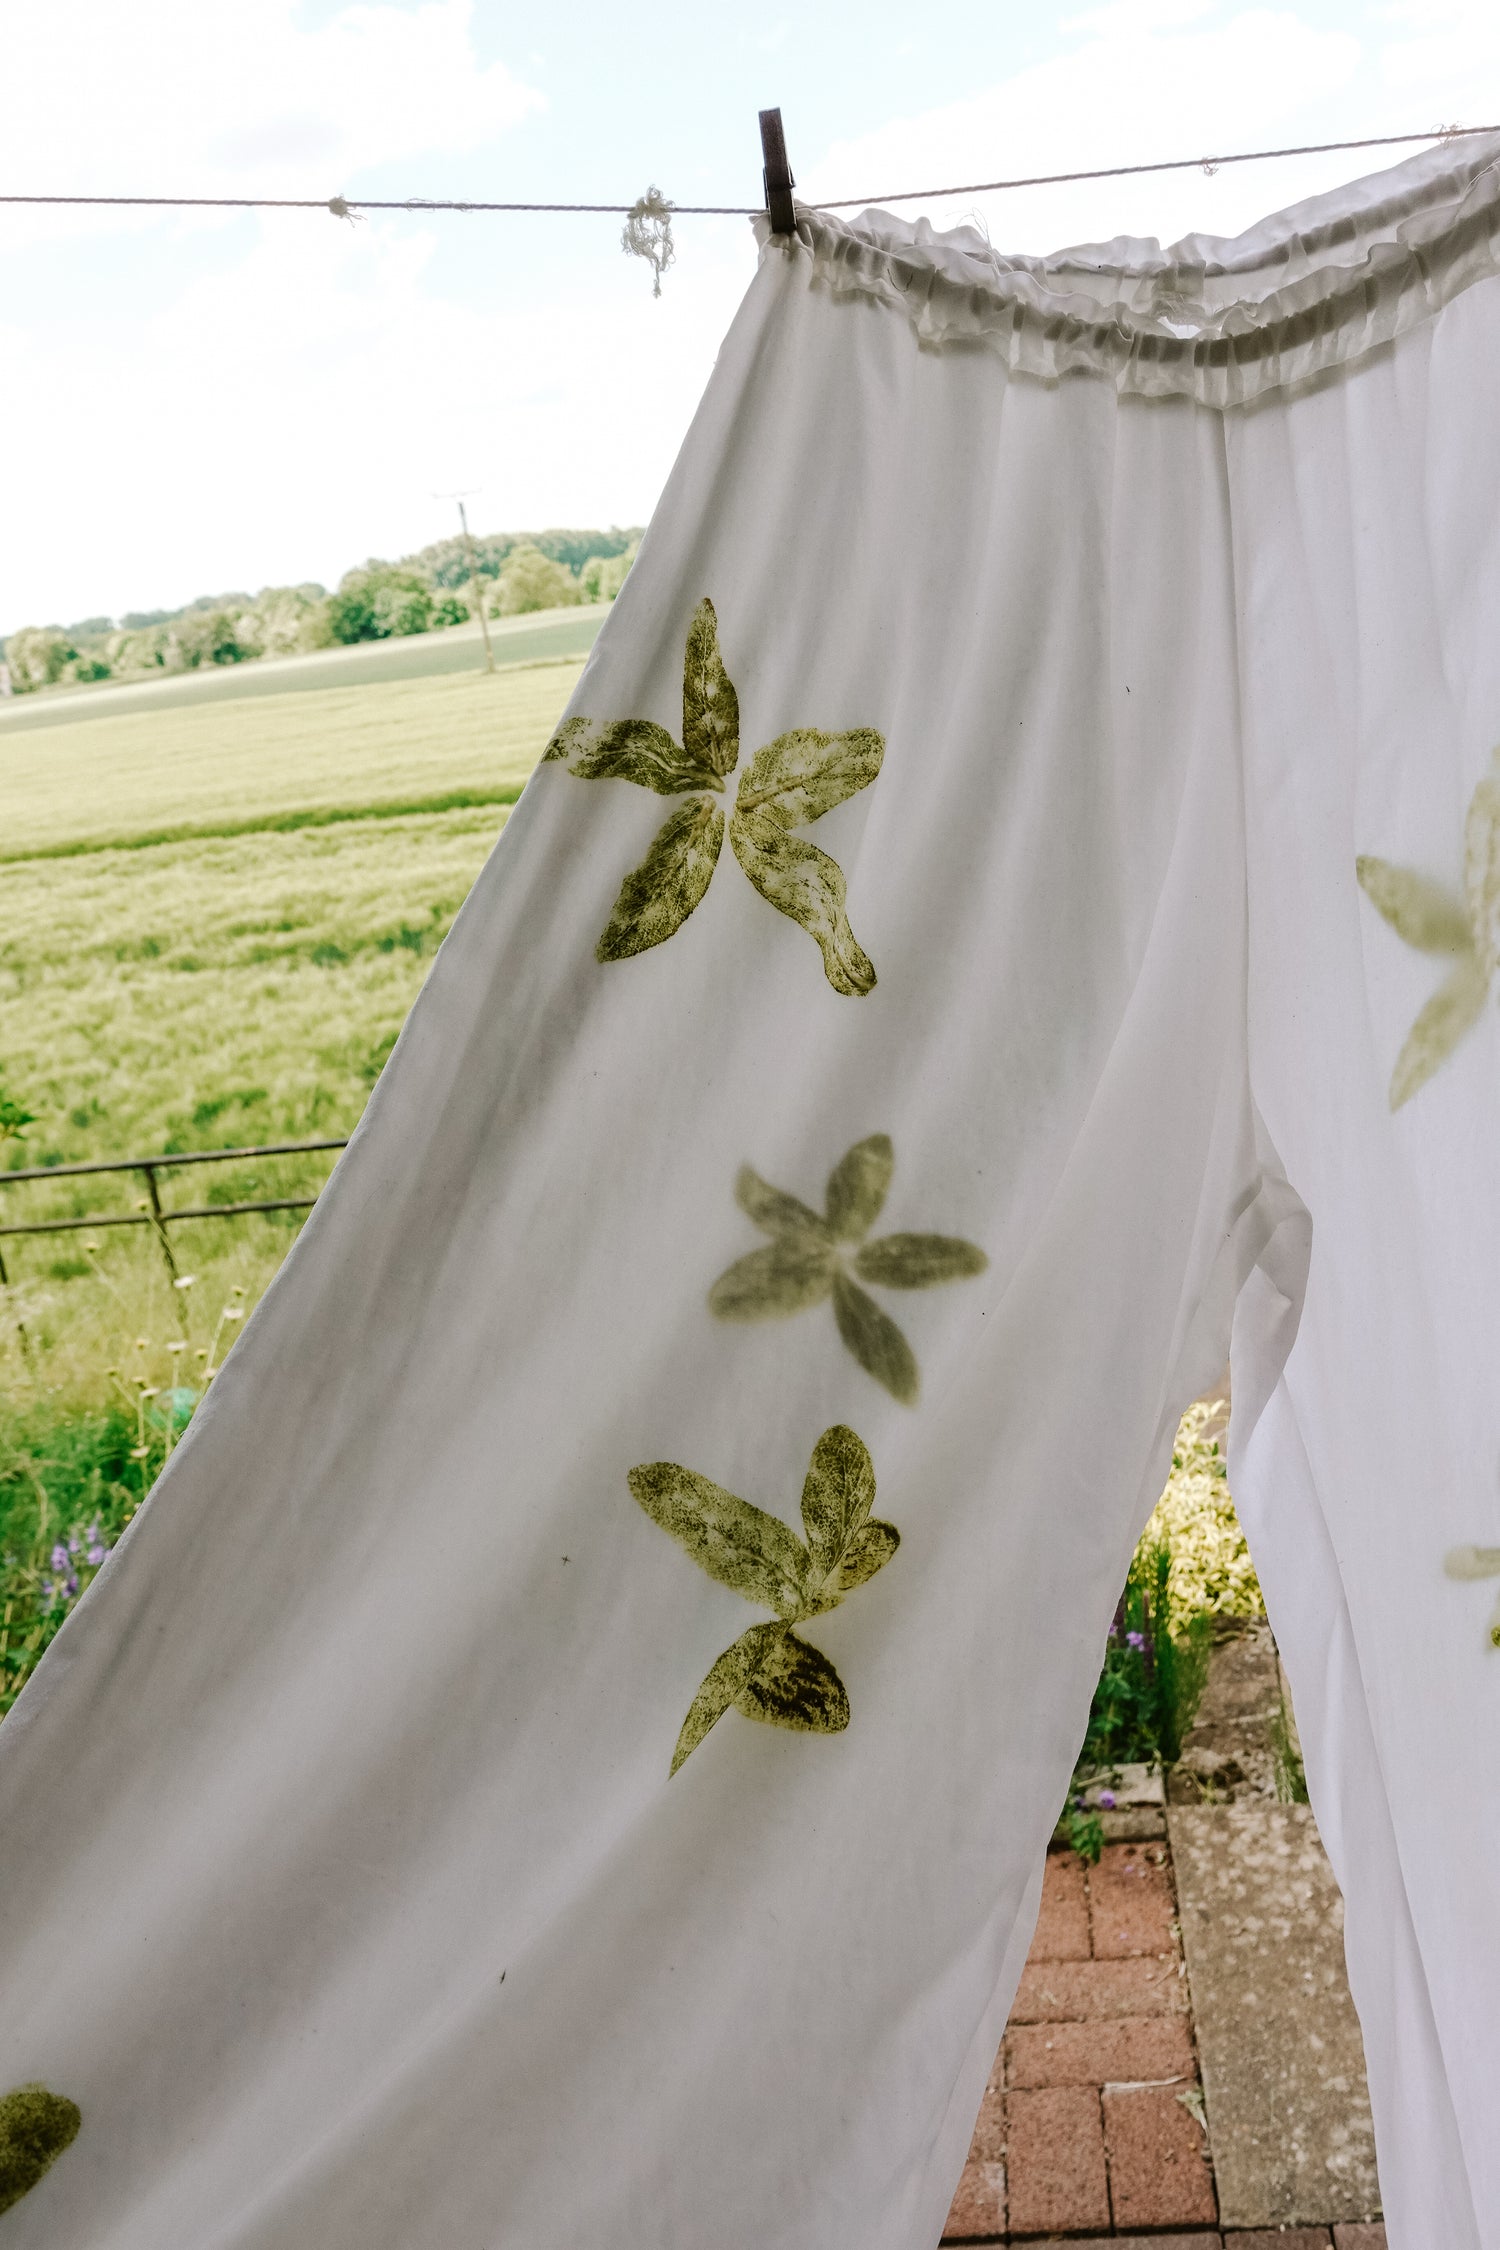
Rinse your printed fabric gently in cold water. Follow with a hand wash using a pH-neutral detergent, like one made for wool or silk.
Hang it up to dry and enjoy wearing your unique, handmade design!
more creativity
-
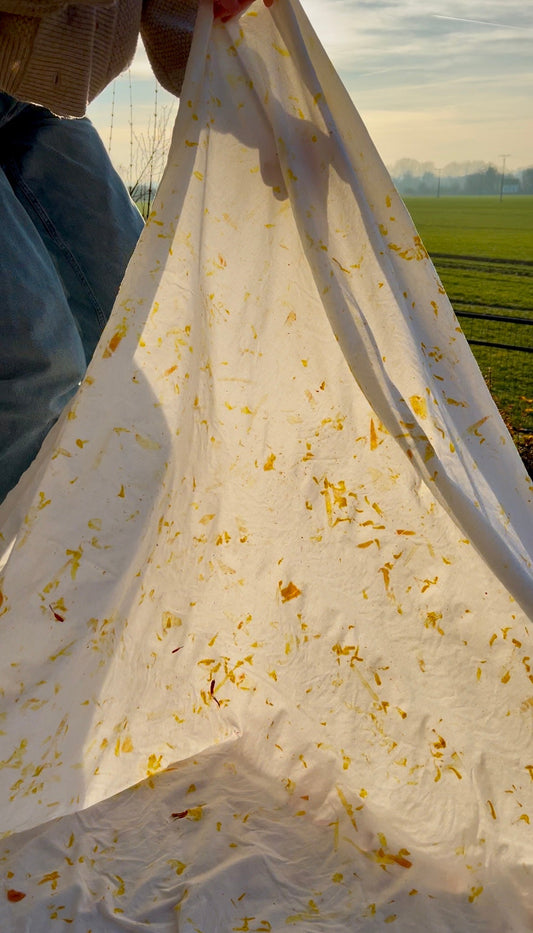
Golden table cloth
Bundle dyeing with marigolds and onion skins!
Golden table cloth
Bundle dyeing with marigolds and onion skins!
-
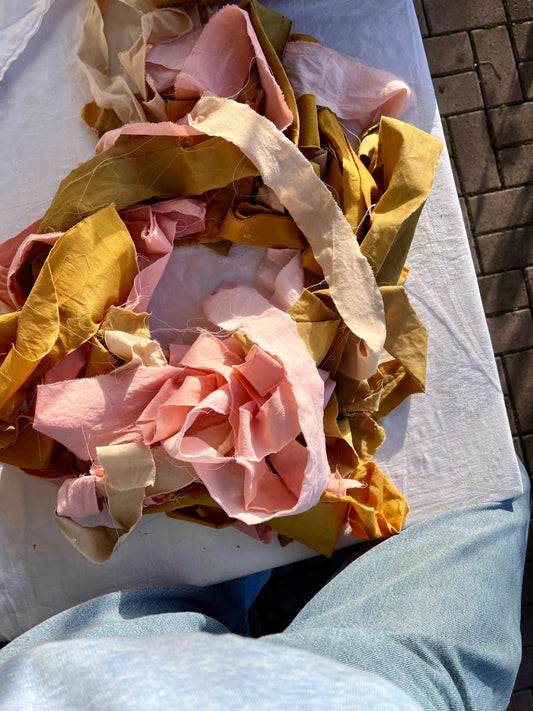
Naturally dyed ribbons
Create beautiful naturally dyed ribbons with food waste dyes!
Naturally dyed ribbons
Create beautiful naturally dyed ribbons with food waste dyes!